
Installing an embedded
headrest screen.
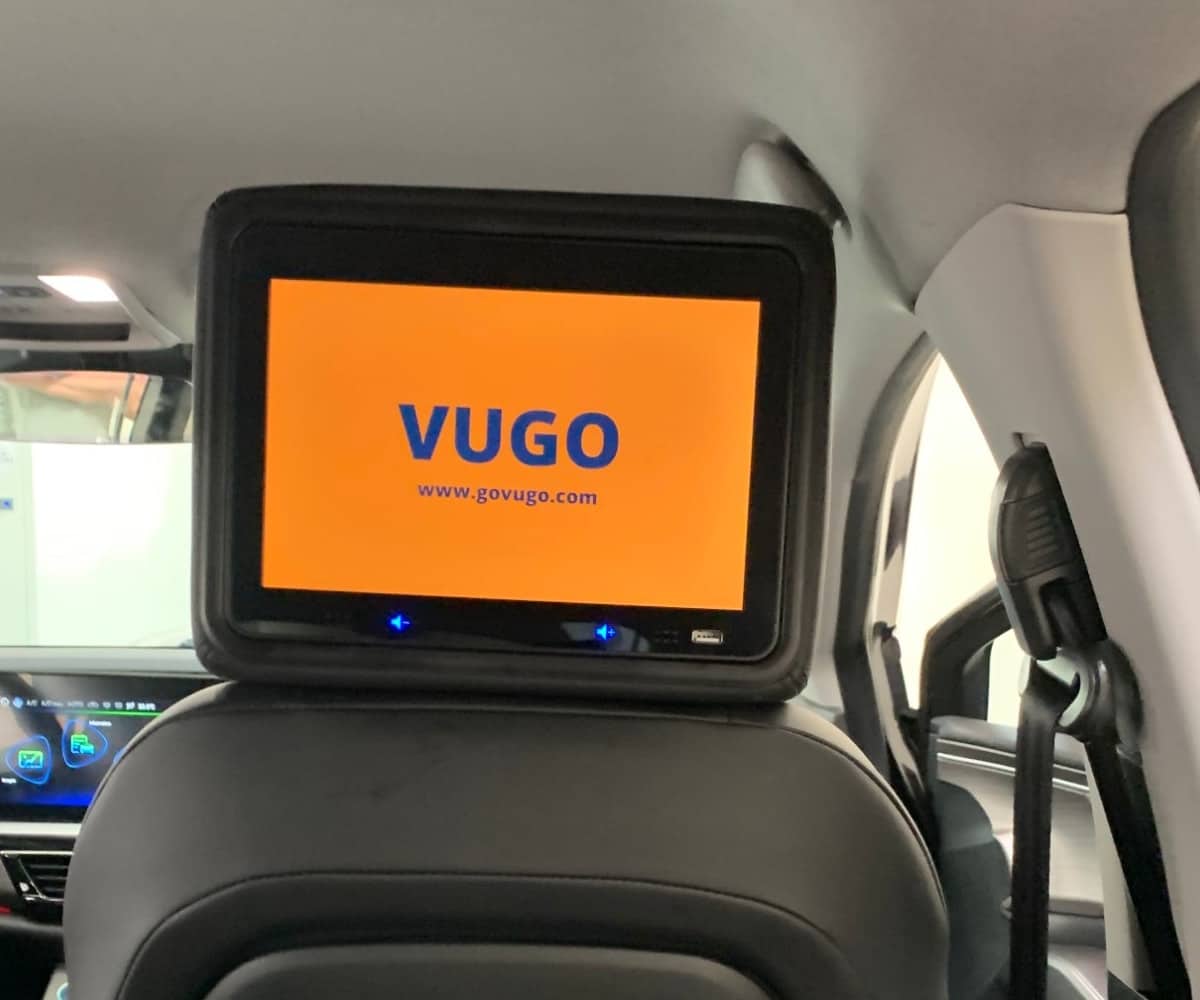
A headrest screen replaces the passenger seat’s headrest and is wired to the car’s accessory power, so it switches on and off with the car. This guide walks your team through one installation, from the box to the clean-up.
Every car is wired
a little differently.
Even cars of the same year, make and model can be wired differently, so treat these steps as a guide, not a wiring diagram for your vehicle. If your team isn’t comfortable working with vehicle wiring, have an auto electrician or a professional installer do it.
- Power off. Make sure the vehicle is off whenever you handle electrical wiring.
- Protect yourself. Wear gloves and eye protection.
- Power draw. The screen draws 5 V at 1.2 A, about 6 watts, through accessory (ACC) power, which is live only when the ignition is on ACC or the car is running.
What you’ll need.
For the wiring
A wire crimper, wire cutter and wire stripper, pliers, and black electrical tape.
For the panels and seat
A flat-head and a Phillips-head screwdriver, and a stiff 3-foot wire for fishing cables through the seat (a coat hanger works).
For tidying up
Plastic zip ties and duct tape, to hold the antenna and excess cable out of the way.
Three wires to the car.
One antenna.
Negative (−)
The ground connection.
Positive (+)
The positive power connection.
Accessory (ACC)
Switched power, so the screen turns on and off with the car instead of drawing on the battery.
The second cable carries the GPS antenna, which is magnetic. Each cable fits only its own plug on the headrest, so they can’t be swapped.
Eleven steps,
one seat at a time.
Unbox the headrest
Inside the box is a plastic bag with clear adjusters, a booklet on basic operation and two cables that connect to the headrest. If the unit came with a SIM card, it’s already installed: there’s no need to take the screen out of the headrest.
Remove the existing headrest
Take the headrest off the passenger seat and keep it in the trunk. Some vehicles need the seat back opened to unplug it.
Open the seat back, if it comes off
Work slowly around the edges of the plastic seat back with the flat-head screwdriver until you find the clips, then pull gently at those points. If the old headrest has a wire or clip attached, release it here.
Or fish the wires through
If the seat back won’t come off, push the stiff wire down through the headrest hole until it comes out the bottom of the seat or the fabric. Tape the headrest’s cable to it and pull it through. Repeat for the other bar.
Fit the headrest to the seat
The bars adjust to the width of the seat. Use a clear adjuster so the headrest fits the holes snugly; if you can reach inside the seat, a second adjuster and duct tape add support. The cables should hang inside the seat back, or below the seat if you fished them through.
Attach the cables
Connect the two cables from the bag to their plugs on the headrest: one carries the magnetic antenna, the other the power wiring for the car.
Secure the antenna
Most seats have metal cross bars: attach the magnetic antenna to one and zip-tie or tape the spare cable to the same bar. Then slide the seat forward and back to check that the seat and lumbar support still move freely.
Choose a power source
Pick a point that meets the screen’s power needs and is live whenever the car is on, without a switch: the passenger seat’s USB port, the center console’s lighter socket or USB, the door electrics, or the glove box USB. Lift interior panels gently with the flat-head screwdriver and pliers.
Wire the headrest
Connect the headrest to the car’s wiring with the crimper, stripper and cutter, then insulate and secure each connection with electrical tape.
Test the power
Turn the car on: the screen should power up and stay on for at least three minutes. Turn the car off: the screen should switch off within 60 seconds. If either fails, rewire it or move to another power point, so the screen never drains the battery while the car is off.
Stow the extra cable
Bundle the spare cable with zip ties and duct tape beside the connection, out of the way. Check that the seat still moves freely and the wiring can’t be seen.
Clean up
Put every panel you removed back in place and clear away the leftover materials.
No screens yet?
Vugo® can introduce your fleet to our preferred screen vendors, so you can choose the hardware that fits your vehicles.